How to Install Lithium Batteries for Optimal Performance
Installing lithium batteries for car audio is gaining serious attention since these powerhouses deliver more stable voltage and lighter weight than old-school lead acid setups. But most people miss the mark on one critical detail. Over 60 percent of installation problems start with poor preparation and skipped safety checks. What really makes or breaks your install has nothing to do with new tools or expensive gear. It all starts with how you set up your workspace and follow simple steps.
Table of Contents
- Step 1: Prepare The Installation Area And Tools
- Step 2: Disconnect The Existing Battery Safely
- Step 3: Position And Secure The Lithium Battery
- Step 4: Connect The Battery Terminals Correctly
- Step 5: Test The Installation For Proper Functionality
Quick Summary
| Key Point | Explanation |
|---|---|
| 1. Choose a Clean, Safe Workspace | Ensure your installation area is tidy, well-lit, and free from moisture to optimize safety and efficiency. |
| 2. Disconnect the Existing Battery Carefully | Always remove the negative terminal first to avoid electrical hazards and wrap it with tape to prevent contact. |
| 3. Secure the Battery With Proper Mounting | Use vibration-resistant materials and ensure the battery is level, well supported, and not touching sharp surfaces. |
| 4. Connect Terminals in the Right Order | Always connect the positive terminal first, ensuring secure, tight connections to prevent electrical issues. |
| 5. Test Battery Performance After Installation | Validate connections and monitor voltage using a multimeter to ensure proper functionality under electrical load. |
Step 1: Prepare the Installation Area and Tools
Preparing the right workspace and gathering appropriate tools are foundational steps in successfully installing lithium batteries for your car audio system. Your preparation will directly impact the installation’s efficiency, safety, and long-term performance. Proper setup minimizes potential errors and ensures a smooth, professional-grade installation process.
Begin by selecting a clean, well-ventilated workspace with ample lighting and a stable, flat surface. Ideally, this area should be free from moisture, extreme temperatures, and potential electrical interference. A garage workbench or a dedicated automotive workspace provides the perfect environment for detailed battery installation work.
Essential Tools for Lithium Battery Installation:
- Insulated hand tools (wrench set, pliers)
- Digital multimeter
- Wire strippers and crimpers
- Protective safety glasses
- Heat-resistant gloves
- Electrical tape
- Battery terminal cleaning brush
Before starting, perform a comprehensive workspace and tool inspection. Verify that all tools are in excellent condition, clean, and appropriate for working with lithium battery systems. Your tools should be specifically rated for electrical work and sized correctly for automotive battery connections.
This table provides an organized overview of the essential tools required for lithium battery installation, along with their primary specifications and purposes to help you set up your workspace efficiently.
| Tool | Specification/Type | Purpose |
|---|---|---|
| Insulated hand tools (wrenches, pliers) | Electrical insulation, various sizes | Safe bolt and clamp adjustment |
| Digital multimeter | Automotive grade | Voltage and connectivity measurements |
| Wire strippers and crimpers | Automotive wire gauge compatible | Preparing and securing wiring |
| Protective safety glasses | Impact-resistant | Shield eyes from sparks/corrosion |
| Heat-resistant gloves | Flame-retardant, insulated | Hand protection during electrical work |
| Electrical tape | High-temp, automotive grade | Insulating and securing connections |
| Battery terminal cleaning brush | Metal bristles | Removing corrosion from terminals |
 Worn or inappropriate tools can compromise safety and lead to potential installation complications.
Personal safety remains paramount during the installation process. Always wear protective eyewear and heat-resistant gloves to shield yourself from potential electrical sparks or accidental short circuits. Keep a fire extinguisher nearby and ensure your workspace has good ventilation to dissipate any potential battery gases.
Critical preparation also involves understanding your specific lithium battery’s technical specifications. Review the manufacturer’s installation guidelines thoroughly, noting precise voltage requirements, recommended connection methods, and any unique handling instructions. Some lithium battery systems have specific mounting orientations or temperature sensitivity that demand careful attention during preparation.
Finally, create a systematic approach to your installation. Lay out your tools in an organized manner, ensuring everything is within easy reach. Group your tools by function: measurement, connection, protection, and safety. This methodical preparation sets the stage for a precise, controlled battery installation that minimizes potential errors and maximizes system performance.
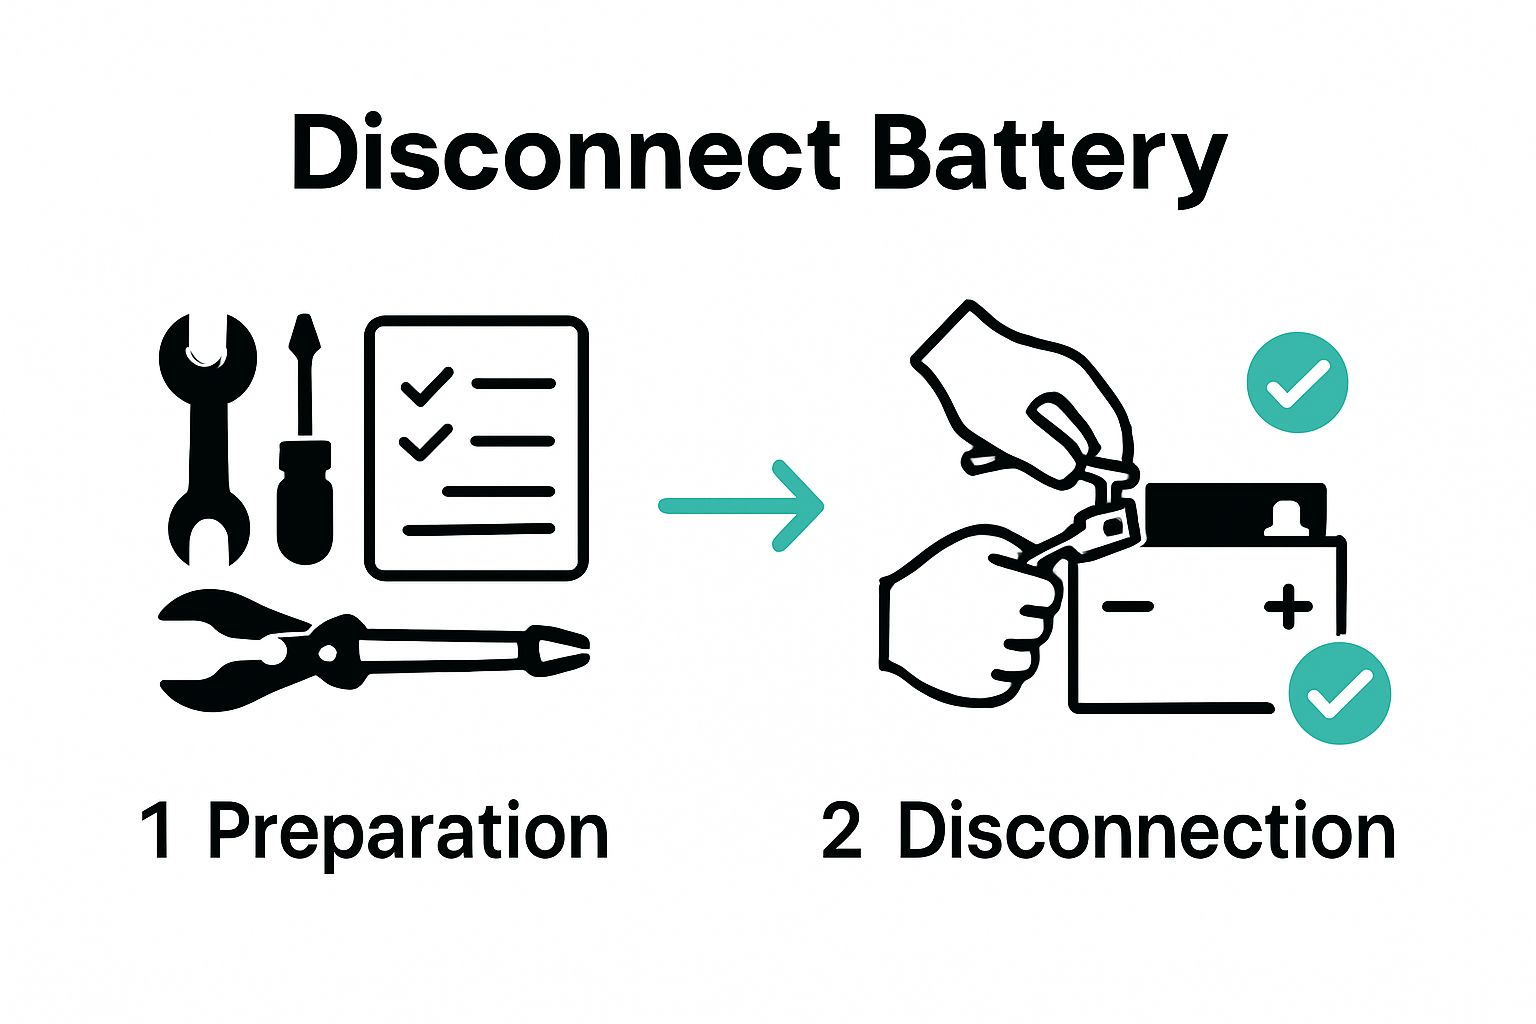
Step 2: Disconnect the Existing Battery Safely
Disconnecting your vehicle’s existing battery is a critical safety procedure that requires precision, patience, and careful attention to detail. This step protects both you and your vehicle’s electrical system during the lithium battery installation process. The goal is to isolate the electrical system completely and prevent any potential short circuits or accidental electrical discharge.
Safety Warning: Always work in a well-ventilated area and wear protective gloves and safety glasses. Battery terminals can contain corrosive materials and potential electrical hazards that demand careful handling.
Begin by locating your vehicle’s battery and identifying the negative and positive terminals. The negative terminal is typically marked with a minus (-) sign or colored black, while the positive terminal will have a plus (+) sign or be colored red. Position yourself comfortably with good visibility and access to the battery compartment.
Proceed with disconnection using a systematic approach. Disconnect the negative terminal first by loosening the terminal bolt or clamp with an appropriately sized wrench. Gently wiggle the terminal connector to break any corrosion or buildup, then carefully remove it from the battery post. Immediately wrap the disconnected terminal with electrical tape to prevent any accidental contact.
After successfully removing the negative terminal, repeat the process with the positive terminal. Use controlled, deliberate movements to prevent dropping tools or accidentally causing sparks. If the terminals show significant corrosion, use a battery terminal cleaning brush to remove buildup before disconnection.
Critical Verification Checklist:
- Negative terminal completely disconnected and isolated
- Positive terminal removed and taped
- No exposed metal surfaces touching battery or surrounding metal
- Tools are clean and safely stored
- Battery area is dry and free from debris
Once disconnected, take a moment to inspect the battery and surrounding area. Look for any signs of corrosion, damage, or wear that might indicate underlying electrical system issues. This visual inspection can provide valuable insights into your vehicle’s electrical health and prevent potential future problems.
Below is a checklist table summarizing the critical verification steps you should complete after disconnecting your vehicle’s battery to ensure safety and proper preparation for lithium battery installation.
| Verification Step | Purpose |
|---|---|
| Negative terminal completely disconnected and isolated | Prevents accidental electrical contact |
| Positive terminal removed and taped | Prevents unintended electrical connection |
| No exposed metal surfaces touching battery or metal | Reduces risk of short circuits |
| Tools are clean and safely stored | Ensures safety and prevents accidental shorts |
| Battery area is dry and free from debris | Prevents hazards during subsequent installation |
Remember that different vehicle models might have slight variations in battery placement or connection methods. Always consult your vehicle’s specific manual if you encounter any uncertainty during the disconnection process. Taking your time and maintaining a methodical approach will ensure a safe and successful battery disconnection, setting the stage for a smooth lithium battery installation.
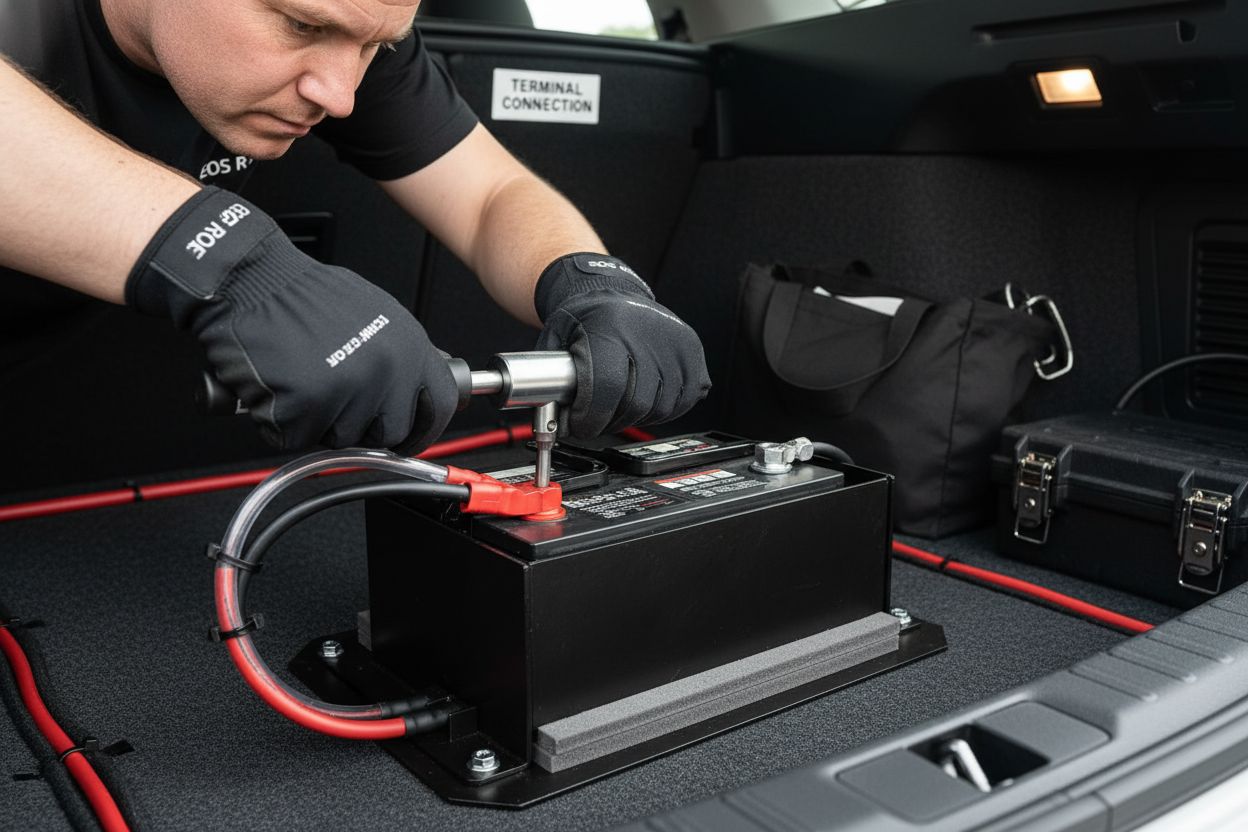
Step 3: Position and Secure the Lithium Battery
Positioning and securing your lithium battery is a precision task that demands careful consideration of weight distribution, electrical system requirements, and long-term stability. The goal is to create a mounting solution that protects your battery while optimizing performance and ensuring safe operation. The unique characteristics that influence proper installation.
Mounting Location Selection is crucial for your lithium battery’s performance and longevity. Ideal placement minimizes exposure to extreme temperatures, vibration, and potential physical damage. Typically, this means choosing a location away from direct heat sources, with good airflow and minimal moisture exposure. Many car audio enthusiasts opt for trunk or custom enclosure installations that provide both protection and convenient access.
When preparing the mounting area, create a stable platform using vibration-resistant mounting brackets or a custom-fabricated mounting tray. Avoid direct metal contact by using rubber or neoprene isolation pads that absorb shock and prevent electrical conductivity. These isolation materials help protect the battery from vehicle vibrations and temperature fluctuations that could compromise its performance.
Critical Mounting Considerations:
- Ensure battery is level and fully supported
- Maintain minimum 1-inch clearance around battery
- Use corrosion-resistant mounting hardware
- Verify no sharp edges contact battery surface
- Confirm battery cannot shift during vehicle movement
Securing the battery requires precision and the right hardware. Use stainless steel or zinc-coated mounting bolts that provide strong, reliable attachment without risking galvanic corrosion. Tighten mounting hardware systematically, applying consistent pressure to prevent uneven stress on the battery casing. The battery should feel completely immobile when you attempt to move it after installation.
Pay special attention to cable routing during positioning. Ensure battery terminals have clear, unobstructed access and that connection cables can be routed without sharp bends or potential chafing points. Leave sufficient slack to accommodate minor vehicle movement while preventing excessive cable length that could introduce electrical resistance.
Finalize your installation by double-checking the battery’s orientation. Most lithium batteries have specific recommended mounting positions that optimize internal chemistry and prevent potential performance issues. Verify that any manufacturer-specified orientation guidelines are strictly followed to maintain warranty conditions and ensure optimal battery performance.
Step 4: Connect the Battery Terminals Correctly
Connecting battery terminals is a critical phase that demands precision, technical understanding, and meticulous attention to detail. One incorrect connection can potentially damage your entire car audio system or create dangerous electrical risks. Read our guide on lithium battery trunk installations for additional context on specialized wiring techniques.
Safety First: Before beginning any terminal connections, confirm that your workspace remains clean, dry, and free from potential electrical interference. Wear insulated gloves and safety glasses throughout the entire connection process to protect yourself from potential electrical hazards.
Start by thoroughly cleaning both the battery terminals and connection points using a battery terminal cleaning brush. Remove any oxidation, dirt, or residue that might compromise electrical conductivity. Apply a thin layer of dielectric grease to the cleaned terminals, which helps prevent future corrosion and ensures a more reliable electrical connection.
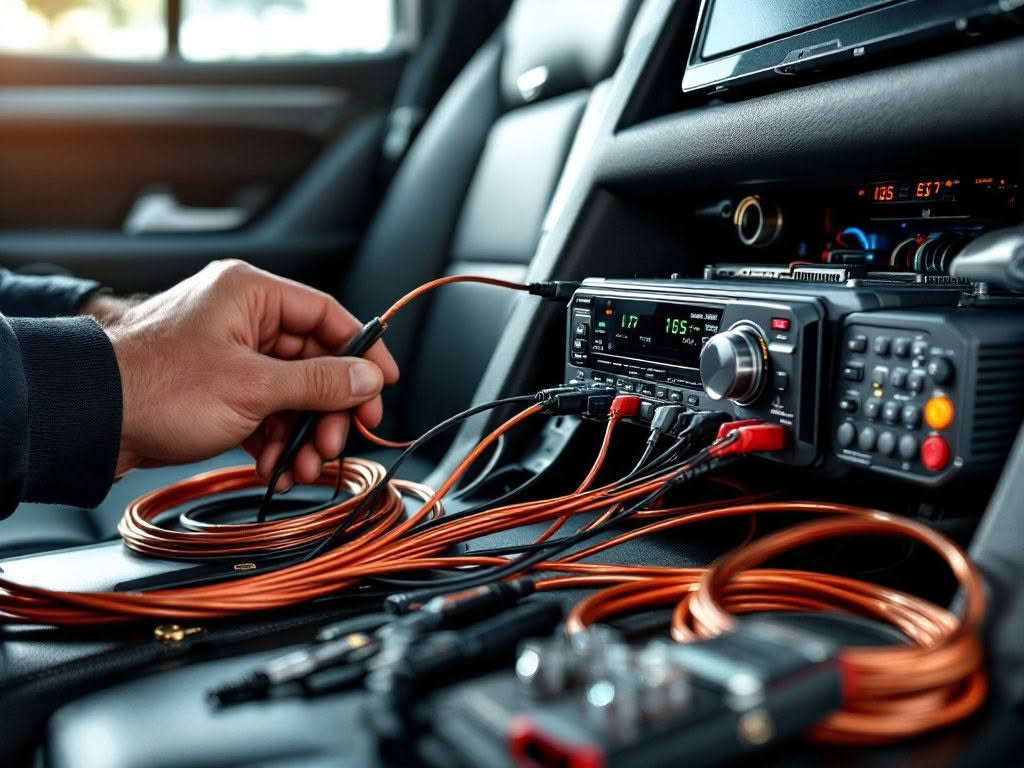
When connecting terminals, always connect the positive terminal first, followed by the negative terminal. Use high-quality, copper-based battery cables rated specifically for automotive applications. Ensure these cables have sufficient gauge thickness to handle the expected electrical load of your car audio system. Loose or improperly sized cables can create resistance, generate excess heat, and potentially compromise system performance.
Critical Connection Checklist:
- Positive terminal connected securely
- Negative terminal attached correctly
- Cable connections tight with no movement
- No exposed wire segments
- Terminals protected with rubber/plastic caps
Tighten terminal connections using a torque wrench to ensure consistent and appropriate pressure. Over-tightening can damage terminal threads, while under-tightening creates potential electrical resistance. Most automotive battery terminals require specific torque specifications, typically around 10-12 Newton meters for standard connections.
Pay special attention to cable routing. Ensure cables are not pinched, twisted, or positioned near moving mechanical components. Use cable ties or specialized mounting clips to secure wiring harnesses, preventing potential mechanical damage during vehicle operation. Maintain a minimum bend radius that prevents cable stress and potential internal wire damage.
Once connections are complete, perform a comprehensive visual and physical inspection. Gently tug each cable to confirm secure attachment. Use a digital multimeter to verify proper voltage and check for any unexpected resistance across the terminals. A successful connection will demonstrate clean, stable electrical continuity with no signs of arcing or unusual resistance readings.
Step 5: Test the Installation for Proper Functionality
Testing your newly installed lithium battery is the critical final stage that validates all your careful preparation and installation work. This comprehensive evaluation ensures your battery will perform optimally and safely within your car audio system. Explore our detailed guide on LTO battery upgrades to understand the nuanced performance characteristics of advanced lithium technology.
Initial Power-Up Sequence begins with a methodical approach. Start by double-checking all connections, ensuring they remain tight and correctly positioned. Use a high-quality digital multimeter to perform initial voltage measurements. A fully charged lithium battery should typically read between 13.2 and 13.6 volts. Any reading significantly outside this range might indicate a connection issue or potential battery problem.
Proceed with a gradual system activation. Turn on your vehicle’s electrical systems sequentially, monitoring each component’s performance. Begin with interior lights, then progressively activate more demanding electrical systems like audio equipment. Pay close attention to any unusual sounds, flickering lights, or unexpected electrical behaviors that might suggest improper installation or potential system incompatibility.
Critical Functionality Verification Points:
- No unexpected voltage drops
- Consistent electrical system performance
- Audio equipment powers on smoothly
- No warning lights on dashboard
- Battery maintains stable voltage under load
Conduct a comprehensive load test by running your car audio system at various volume levels. This simulation reveals how the lithium battery performs under different electrical demands. Listen carefully for any audio distortions, amplifier strain, or inconsistent power delivery that might indicate installation challenges.
Temperature monitoring is another crucial aspect of functionality testing. Use an infrared thermometer to check battery and connection point temperatures during extended use. Lithium batteries should maintain relatively stable temperatures. Any significant heat buildup could signal potential wiring issues, improper connections, or battery system limitations.
After initial testing, allow the system to rest and cool down. Perform a second round of voltage measurements to confirm the battery’s recovery and stability. A properly installed lithium battery should demonstrate consistent voltage recovery and minimal performance degradation. If any anomalies persist, carefully review your installation steps or consult a professional automotive electrical specialist to diagnose potential issues.
Unlock Maximum Car Audio Power With Professional Lithium Battery Solutions
Trying to install a lithium battery for your car audio system can quickly get overwhelming. You want reliable voltage, safe installation, and the confidence that your system will last. As highlighted in this guide, critical steps like workspace prep, cable routing, and correct terminal connections are non-negotiable for real performance gains. If you are tired of unreliable DIY advice and want to stop guessing which battery setup is best, it is time to level up your results.
Explore car audio battery solutions and see proven installation guides designed for enthusiasts like you.
Ready to upgrade your installation skills and your equipment? Visit Evolution Lithium now to access expertly assembled LTO SCiB battery banks and step-by-step installation guides made for demanding audio applications. Do not let small mistakes keep you from optimal performance. Get trusted products and real support today—your sound deserves it.
Frequently Asked Questions
How do I prepare my workspace for installing lithium batteries?
To prepare your workspace, select a clean, well-ventilated area with good lighting and a stable, flat surface. Gather essential tools like insulated hand tools, a digital multimeter, and protective gear to ensure a safe installation process.
What safety precautions should I take when disconnecting my existing battery?
Prior to disconnecting your existing battery, wear protective gloves and safety glasses, and ensure you work in a well-ventilated area. Disconnect the negative terminal first, wrap it with electrical tape, and then proceed to the positive terminal to avoid any accidental short circuits.
How should I position and secure the lithium battery in my vehicle?
Position the lithium battery in a stable area that minimizes exposure to extreme temperatures and vibrations. Use vibration-resistant mounting brackets and ensure there is at least a 1-inch clearance around the battery to support adequate airflow and stability.
What steps should I follow to correctly connect the battery terminals?
Start by connecting the positive terminal first, ensuring it is secured with a torque wrench to prevent under-tightening. Then attach the negative terminal, making sure that all connections are tight with no exposed wire segments.
How can I test the installed lithium battery for proper functionality?
To test your installed lithium battery, perform an initial voltage check using a digital multimeter, ensuring it reads between 13.2 and 13.6 volts. Gradually activate your vehicle’s electrical systems and monitor their performance for any unusual behaviors or voltage drops.
What should I do if the battery shows signs of overheating during testing?
If the battery shows signs of overheating, such as excessive temperature build-up, prioritize safety by immediately turning off the electrical systems. Inspect the wiring connections and ensure there are no pinched or improperly routed cables that could cause these issues.