How to Install a Second Lithium Battery for Car Audio
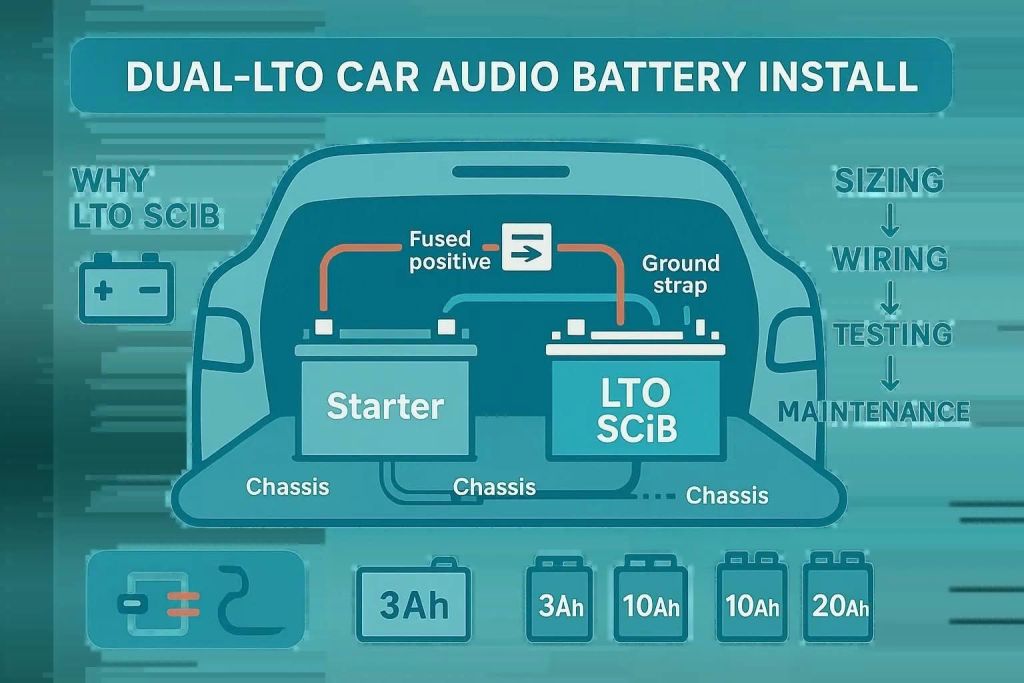
Adding a second battery can help a high-power car audio system deliver current during bass peaks, but the result depends on the complete electrical system. The battery, alternator, cable, fuses, grounds, charging voltage and amplifier demand must work together.
This beginner guide explains how to plan and install a second lithium battery for car audio. It focuses on safe wiring, SCiB LTO charging, boot or rear-cabin mounting, active balancing and checks to complete before full-power use. If you are not experienced with high-current DC wiring, use a competent car-audio installer.
What a Second Car Audio Battery Does
A correctly sized lithium bank gives the amplifiers a nearby source of current. This can reduce voltage drop during short, heavy demands and lower the current carried through a long front-to-rear cable at the instant of a bass hit.
It cannot compensate for a weak alternator, undersized cable, poor grounds or a charging voltage that does not suit the battery. Diagnose those limits before buying more capacity. Use the car audio battery and alternator calculator to compare amplifier demand, usable alternator output and suitable bank capability.
For a current estimate, use:
Estimated DC current = total rated RMS watts ÷ charging voltage ÷ amplifier efficiency
For example, 3,000 W RMS at 15.8 V and 80% assumed Class D efficiency is about 237 A at theoretical full output. That is an input-demand estimate, not the battery-only current and not a fuse-size recommendation.
Plan Your Car Audio Dual-Battery Setup
Record the information below before choosing cable, protection or a battery bank:
- The combined manufacturer-rated RMS output of all amplifiers.
- The vehicle’s measured charging voltage when cold, hot, at idle and under electrical load.
- The alternator’s rated output and the current still needed by the vehicle.
- Daily listening, demo sessions or short SPL runs.
- The positive and negative cable lengths.
- The limits of the amplifiers and other electronics at the intended system voltage.
Select the bank from its finished-bank capacity and published continuous-current capability. Do not confuse an individual cell’s Ah rating with the Ah capacity of the completed series-parallel bank.
Choose a Compatible Lithium Car Audio Battery
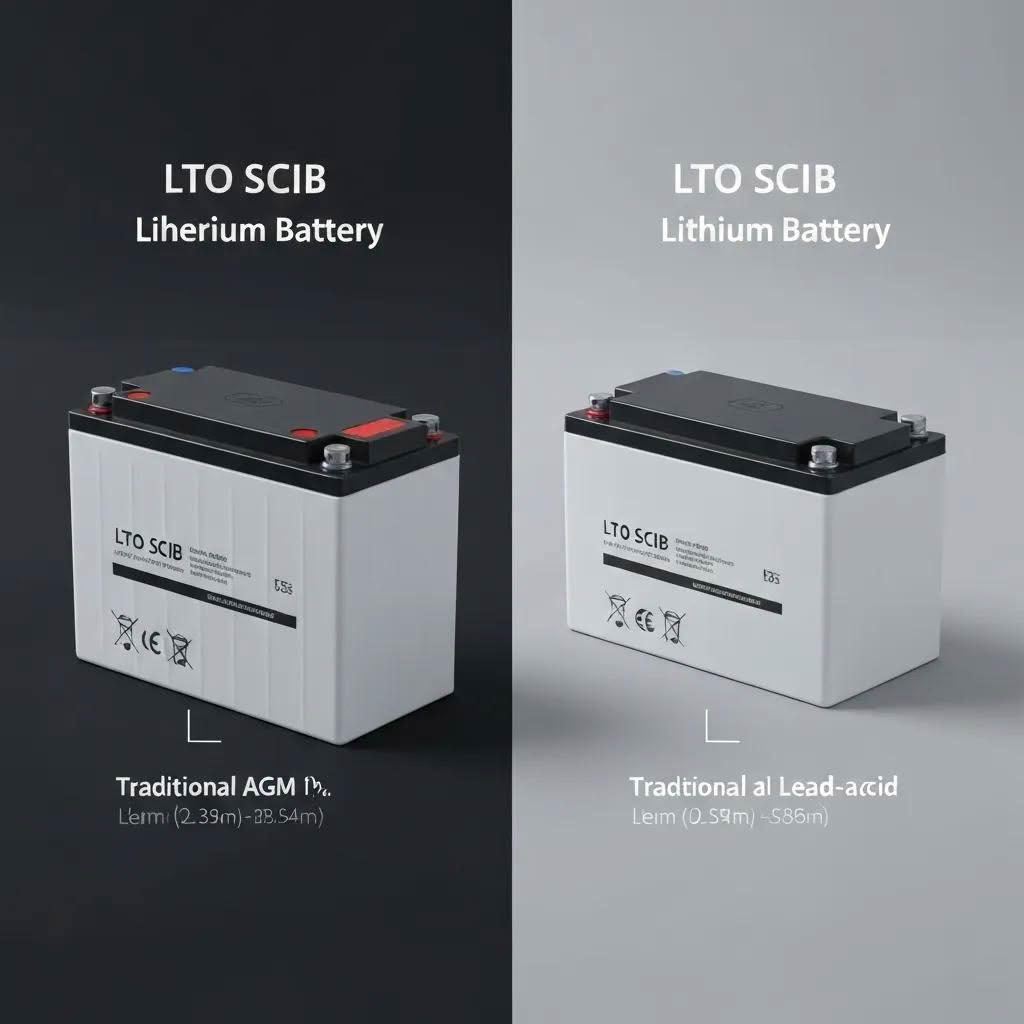
Lithium is a family of chemistries, not one interchangeable battery type. Battery University’s chemistry table lists lithium titanate at about 2.4 V nominal per cell, which is different from LiFePO4 and conventional lithium-ion. The charger, series count and voltage limits must match the actual cells.
Evolution Lithium primarily uses Toshiba SCiB LTO cells. For compatible 6S SCiB systems, the usual daily charging target is approximately 15.6–15.9 V. Where the exact cell specification permits 2.8 V per cell, 16.8 V is the absolute 6S ceiling, not the everyday target. Confirm the limits of the complete vehicle and audio system before changing regulator voltage.
Compare available configurations in the SCiB car audio battery range.
Parts Needed to Install a Second Lithium Battery
- A correctly assembled lithium battery bank with protected terminals.
- An active balancer matched to the cell count and voltage range.
- Copper positive and negative cable sized for current, length and acceptable voltage drop.
- Crimped lugs, adhesive-lined heat shrink, grommets and cable supports.
- High-current fuses and holders suitable for the protected cable.
- A rigid battery mount, insulating covers and service access.
- A digital multimeter and a suitable DC clamp meter.
- A purpose-built pre-charge device for the first connection.
Fuse selection starts with the smallest cable or component that the fuse must protect. Battery burst capability or an amplifier’s advertised maximum power does not establish the correct fuse rating.
How to Wire a Second Battery for Car Audio
Basic Second-Battery Wiring Diagram
Positive path:
Alternator / starting battery positive → front fuse → main positive cable → rear fuse → lithium bank positive → fused distribution → amplifiers
Negative path:
Lithium bank and amplifier negatives → verified chassis ground or dedicated negative return → starting battery negative / vehicle ground
A long positive cable connected between two batteries can receive fault current from either end. Protect it with a fuse close to the starting battery and another close to the rear lithium bank. Keep the fuse-to-terminal leads as short as practical; the detailed Evolution Lithium guide uses about 200 mm as the target where the layout permits.
- Disconnect and isolate power. Remove jewellery, protect tools and remove the relevant fuses before working on exposed conductors.
- Mount the bank first. Confirm the position, terminal clearance and cable bend radius before cutting cable.
- Route the positive cable. Keep it away from exhaust heat, sharp edges, moving parts, fuel lines and airbag equipment. Use grommets through every metal panel.
- Crimp and insulate each lug. Use the correct die and cable size. A connection should not rotate or pull free.
- Install front and rear protection. Fuse each positive source before the cable can pass through an unprotected section of the vehicle.
- Complete the negative path. Use a dedicated negative return or a tested structural chassis connection with suitable bonding to the engine and starting battery.
- Connect the active balancer correctly. Follow its specified lead order and verify every cell reading before energising the main circuit.
- Pre-charge before final connection. Charge amplifier capacitors through a purpose-built pre-charge device to reduce connection arcing.
See the complete LTO battery-bank wiring guide and car audio grounding guide before finalising the cable layout.
Mount the Lithium Battery in the Boot or Rear Cabin
Do not install a lithium car audio bank under the bonnet. Mount it in the boot or rear cabin, away from engine heat, road contamination and direct moisture. Use a rigid bracket or enclosure that prevents movement during hard braking, cornering or a collision.
Cover exposed terminals and busbars, keep metal cargo away from the bank and leave room to inspect the fuses, active balancer and connections. Cable weight must not pull sideways on cell terminals. For placement examples, use the lithium battery boot installation guide.
Set Up SCiB LTO Charging and Active Balancing
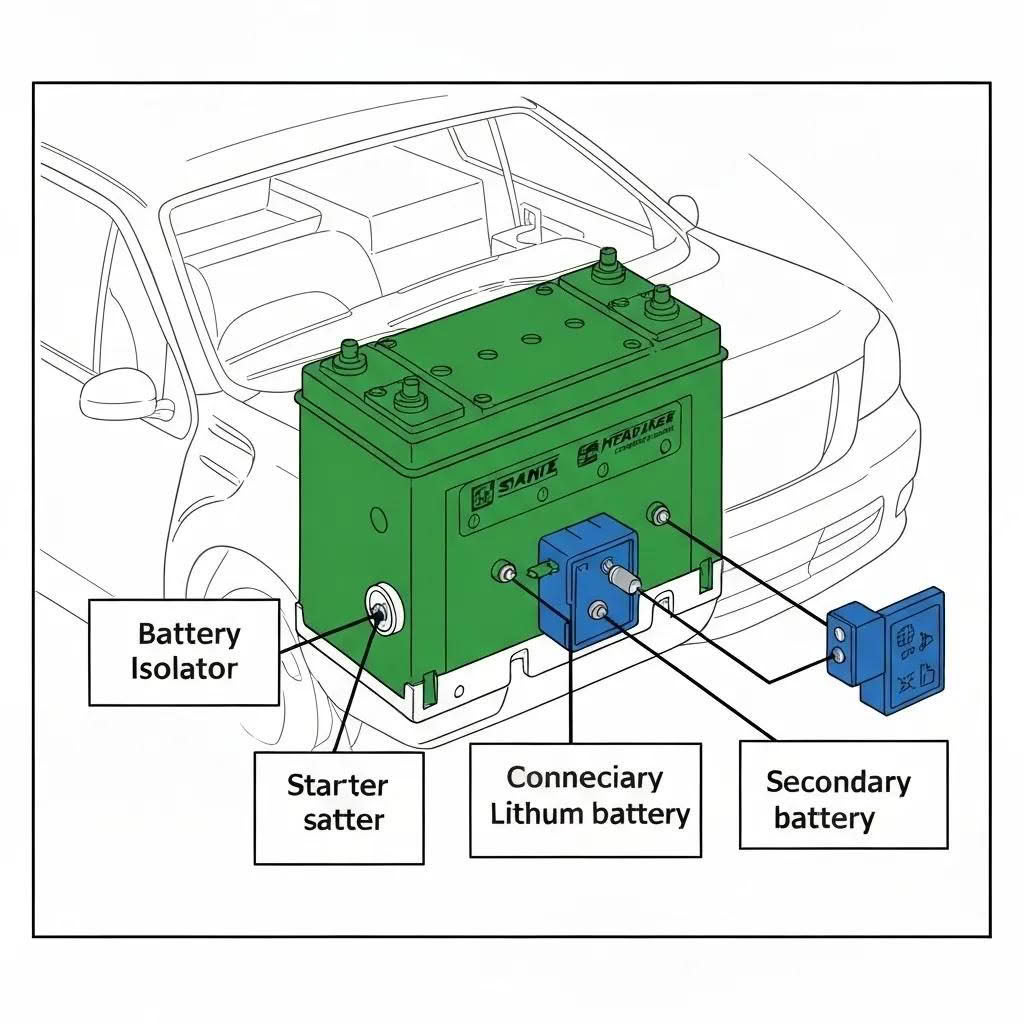
Measure the vehicle’s real charging behaviour instead of assuming the dashboard voltage is accurate. Check directly at the starting battery and rear bank when the alternator is cold, after it has warmed up and while the vehicle’s normal loads are operating.
An isolator, contactor or DC-DC charger may be useful, but no single device suits every vehicle or battery combination. A basic isolator does not correct an unsuitable charging voltage. Smart alternators, adjustable regulators and mixed battery chemistries require a system-specific plan.
The high-output alternator and LTO compatibility guide explains the checks in more detail. Use an active balancer matched to a 6S bank where required, and follow its connection instructions exactly.
Test the Car Audio Battery Installation Before Full Power
- Check every cable against the wiring plan and verify polarity with a multimeter.
- Record individual cell voltages and total bank voltage before connection.
- Confirm there is no unintended continuity between positive and chassis ground.
- Pre-charge the circuit, install the fuses in the planned order and watch for heat or abnormal current.
- Start the vehicle and measure charging voltage at both batteries.
- Measure at the lithium bank and amplifier terminals under the same controlled audio load.
- Test each positive section and the complete ground return for voltage drop while current is flowing.
- Increase volume gradually while monitoring cell spread, charging voltage and connection temperature.
If the voltage is stable at the rear bank but lower at the amplifier, the loss is in the distribution, fuse holder, cable or ground path. If voltage falls at both locations, investigate bank state of charge, alternator support and total current demand. Follow the car audio voltage-drop guide for the full test method.
Common Second-Battery Installation Mistakes
- Mounting lithium under the bonnet.
- Fusing for battery output instead of protecting the cable.
- Protecting only one end of a cable connected between two batteries.
- Choosing cable by amplifier marketing power rather than current, length and voltage drop.
- Connecting mismatched battery chemistries without a charging and isolation plan.
- Using resting voltage as the only test.
- Increasing regulator voltage to hide poor wiring or weak grounds.
- Expecting an active balancer to repair a weak cell or loose connection.
Frequently Asked Questions
Do I need an isolator for a second car audio battery?
It depends on the vehicle, battery chemistries, charging voltage and whether you need to preserve starter-battery capacity while parked. Some systems use a correctly rated isolator or contactor; others need controlled DC-DC charging. Treat it as a system-design decision rather than an automatic requirement.
Does a second battery replace a high-output alternator?
No. The battery supplies stored energy, while the alternator replaces that energy and supports the vehicle when the engine is running. A high-demand system can still discharge a large bank if average electrical use exceeds available alternator output.
Where should a lithium car audio battery be installed?
Install it in a rigid, protected mount in the boot or rear cabin. Keep it away from engine-bay heat, moisture, loose metal objects and areas where cargo can strike the terminals.
Can I wire a second lithium battery myself?
Only if you can safely design, terminate, fuse and test a high-current DC circuit. A polarity error or unfused conductor can cause severe arcing and fire. If any step is unfamiliar, have a competent installer complete or inspect the work before the batteries are connected.
Installation Checklist
Choose the bank from real amplifier demand, confirm the alternator and voltage limits, protect both ends of the main positive cable, use a tested negative path, mount the lithium bank in the boot or rear cabin, connect the active balancer correctly and complete controlled commissioning before full output.
For help matching the bank, charging system and protection hardware, contact Evolution Lithium with the amplifier RMS ratings, measured charging voltage, alternator rating and intended system use.